Settings page is your central hub for configuring and managing your Vectorify project. Here, you can customise your AI Agent’s behaviour, organise your project’s appearance, and manage core settings.
What you’ll see
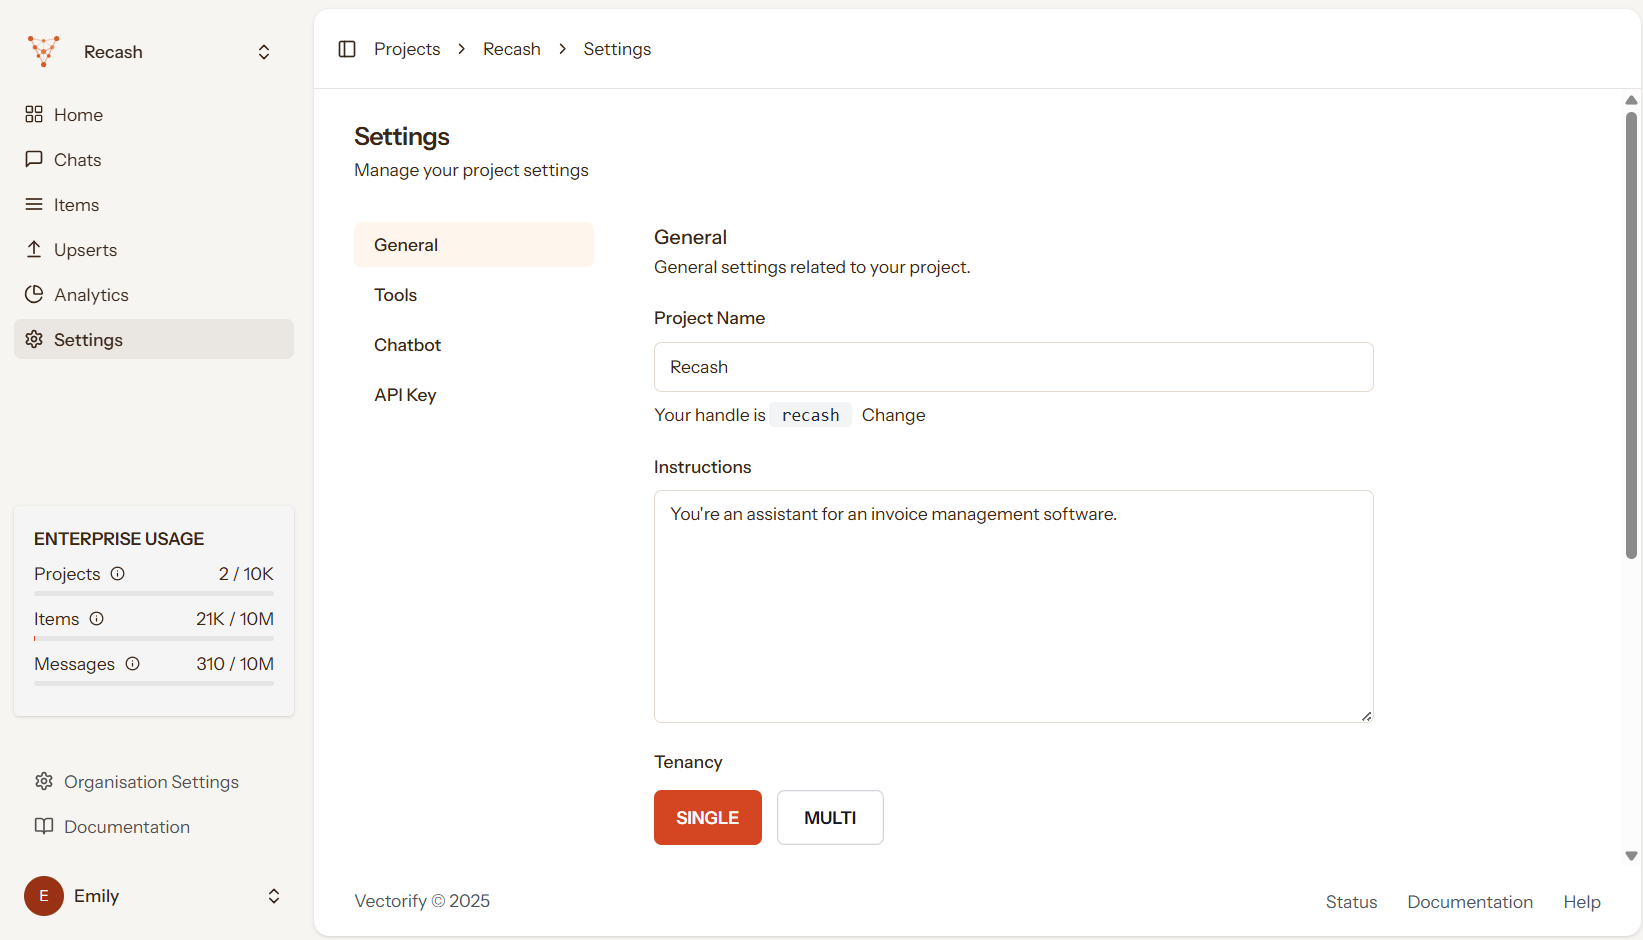
When you navigate to the projectSettings page, you’ll find a comprehensive settings form with several configuration sections:
General Settings - The main configuration area includes:
- Project Name - The display name for your project
- Project Handle - A unique URL identifier (editable with a toggle)
- Instructions - Custom AI instructions that guide how your agent responds
- Tenancy - Choose between Single or Multi-tenant data isolation
- Colour - A small identifier to distinguish projects quickly
Navigation structure
The settings area uses a tabbed layout with three main sections:- General - Core project configuration (the main settings form)
- API Key - Manage your project’s API access credentials
- Chatbot - Configure embedded chatbot settings
Key configuration options
Project Instructions - This large text area lets you provide detailed instructions that shape how your AI assistant responds to queries. These instructions are your AI Agent’s “personality” and behaviour guidelines. Tenancy Mode - Select how your project handles data:- Single - All data shared in one namespace
- Multi - Data isolated by tenant for multi-organisation use